Content can be added from the material’s detail view.
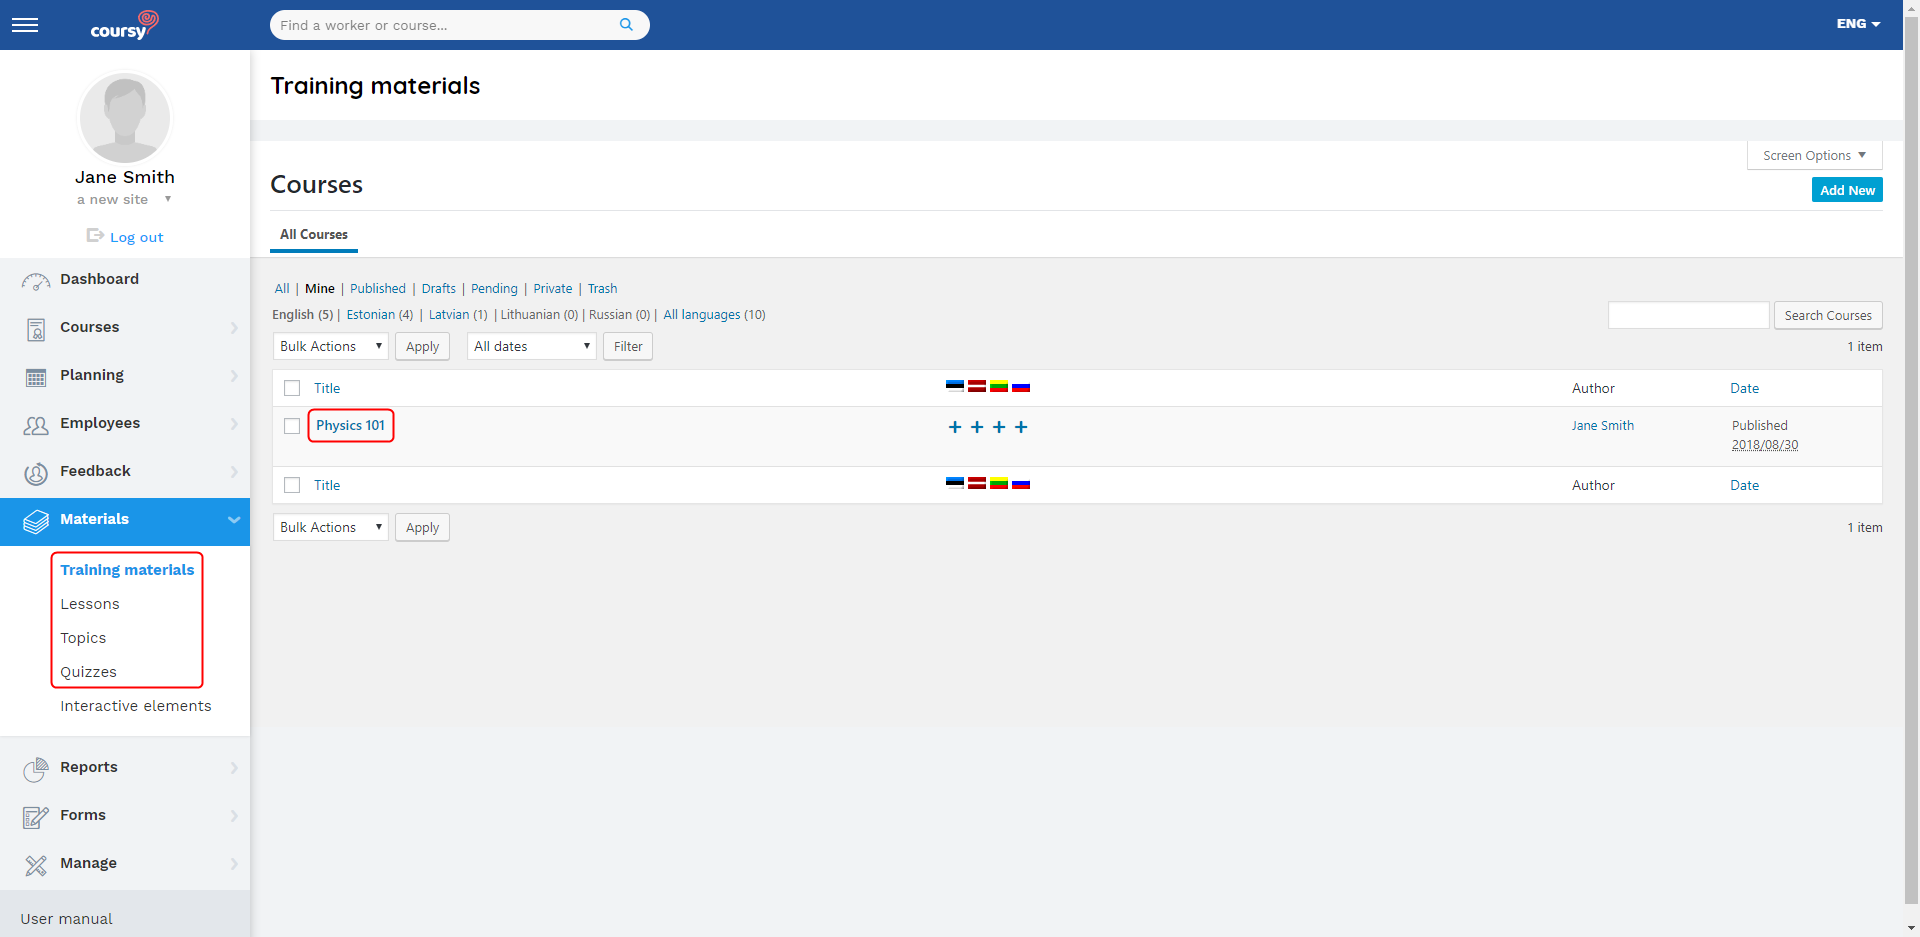
Opening the detail view:
- Open the Training materials, Lessons, Topics or Quizzes menu item.
- Click on the title of the material.
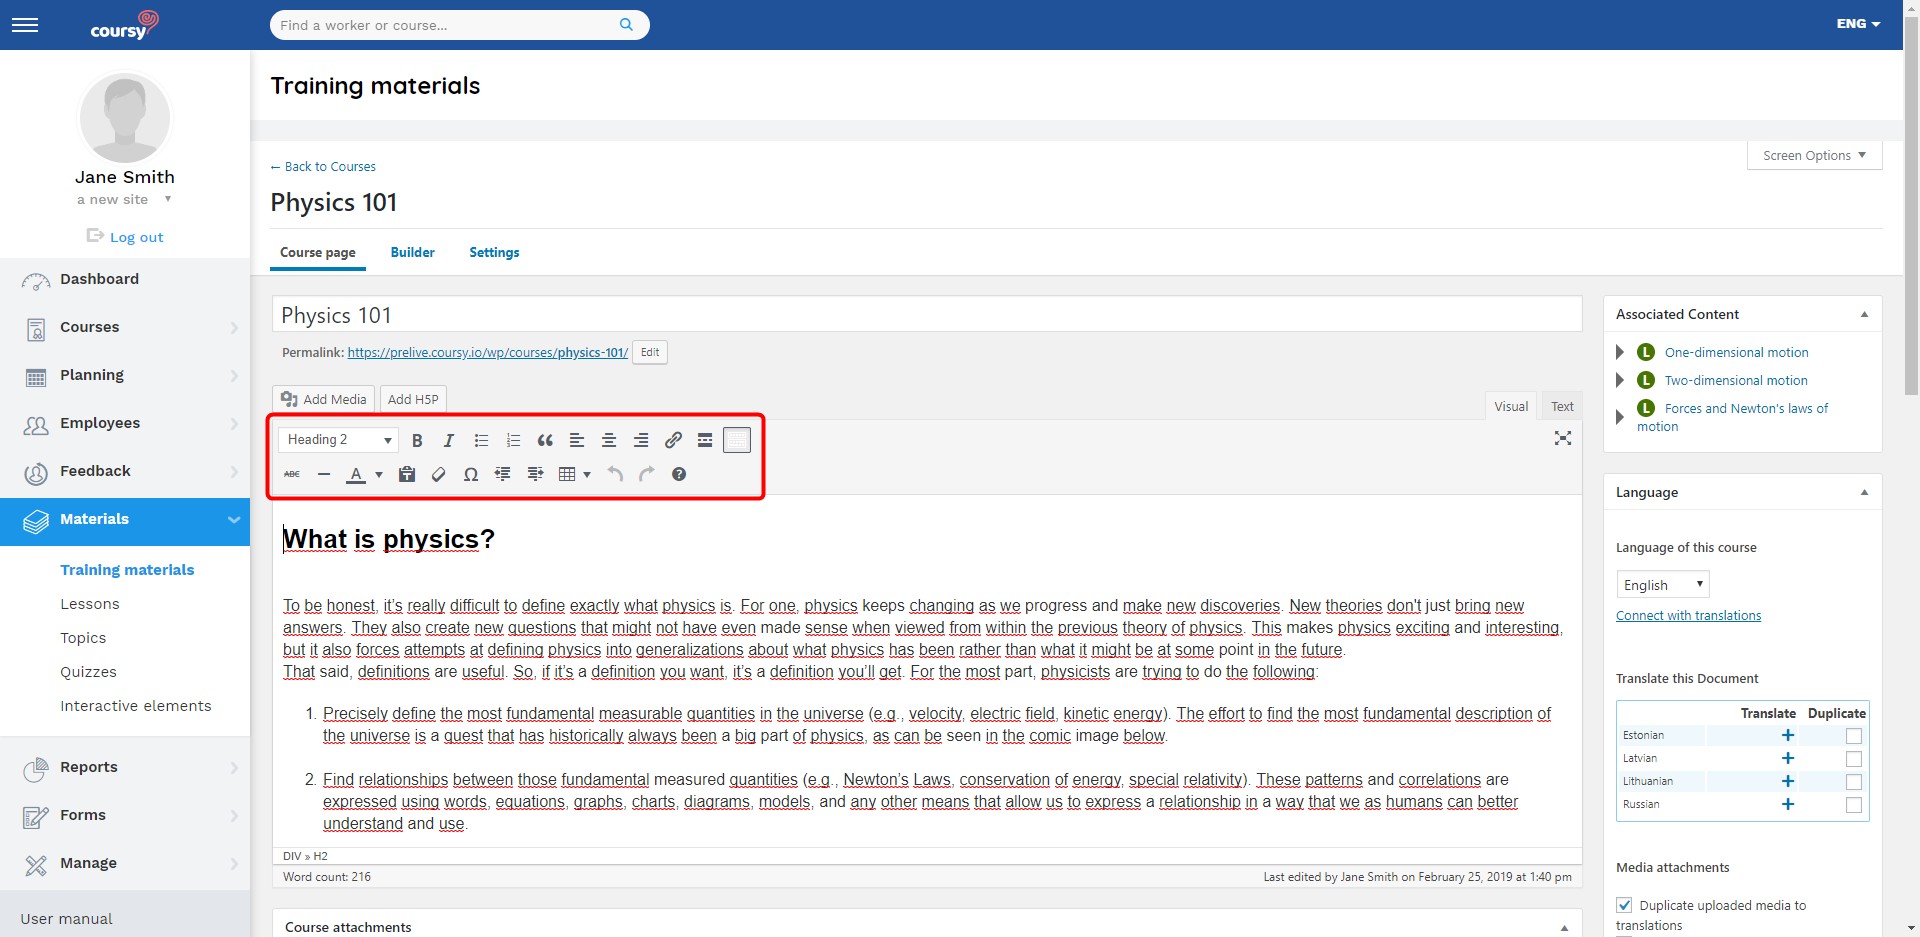
The Toolbar
The content area has a toolbar with options for formatting text and adding tables, links, and special characters. Above the toolbar are the buttons for adding media files and interactive elements.
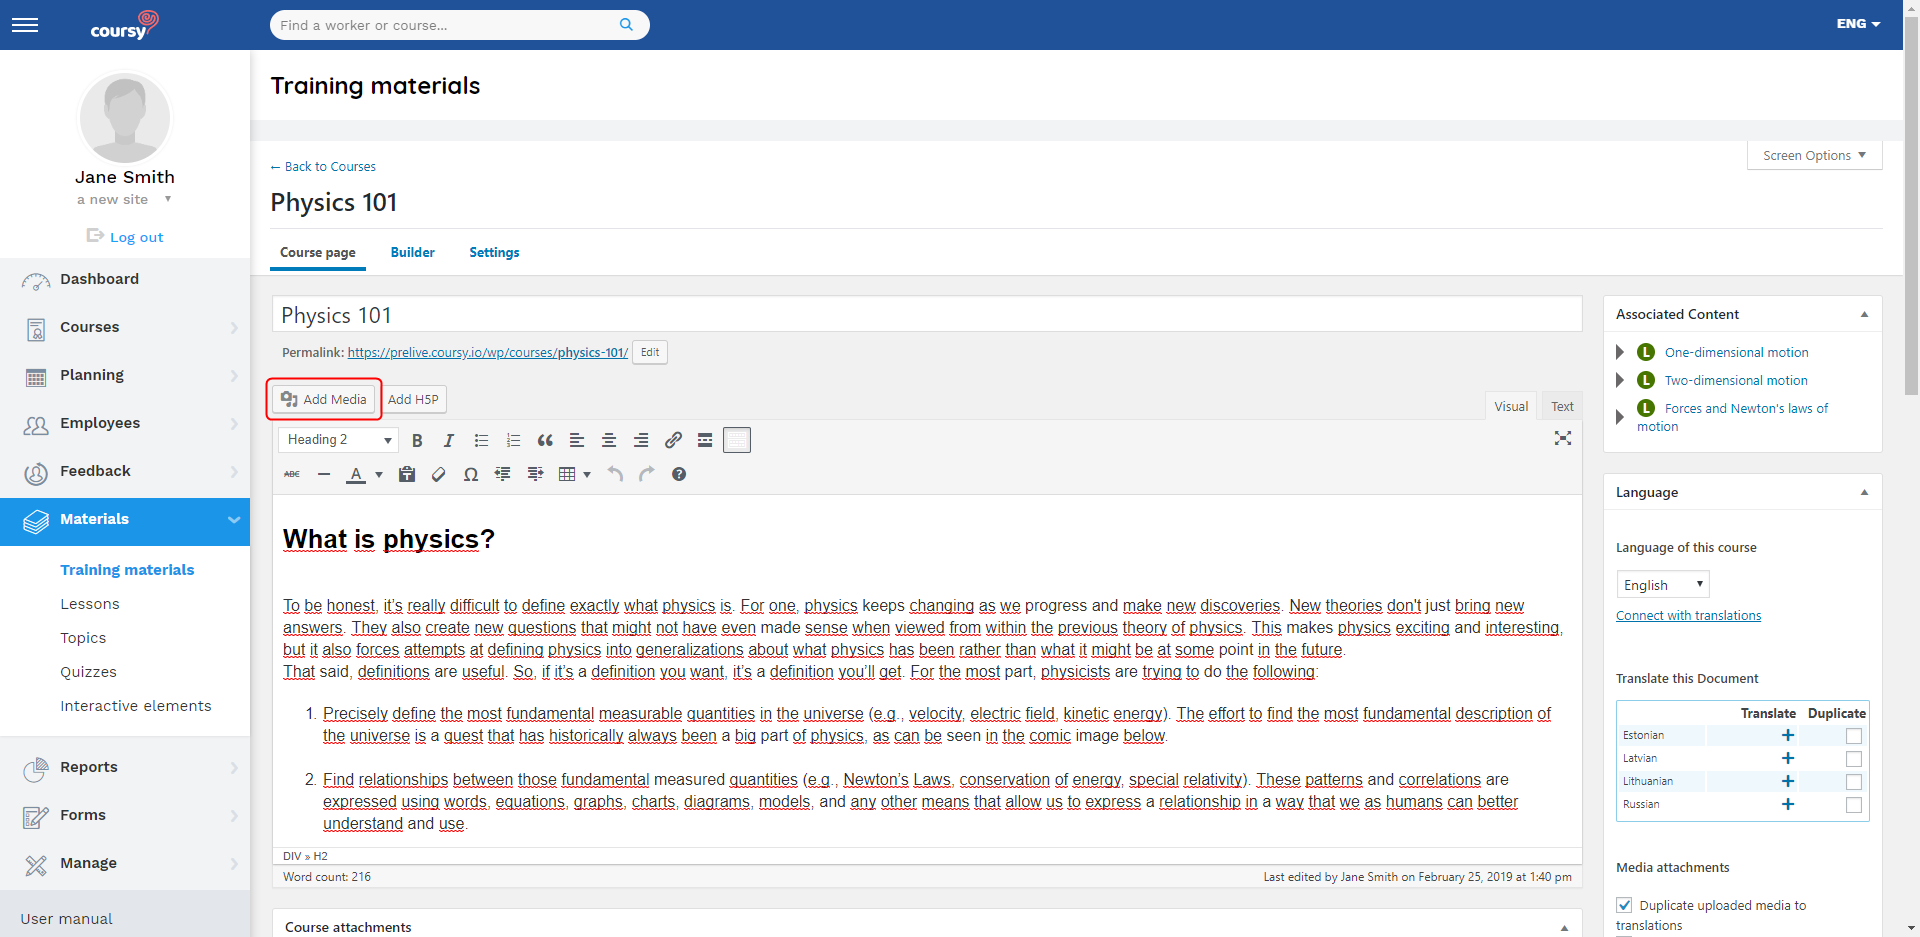
Adding Media files
- Open the material’s detail view
- Click Add Media
- Upload the file or select a previously uploaded file from the Media Library
- Click Insert into post
Adding videos
To add a video, you can either upload it by using the Add Media button like any other media file, or you can add the URL of a video that has been uploaded to a website (e.g., YouTube or Vimeo).
The easiest way to add a video URL is to paste it straight to the material’s content field. If you paste the video’s URL address onto a new row, then the system embeds it automatically.
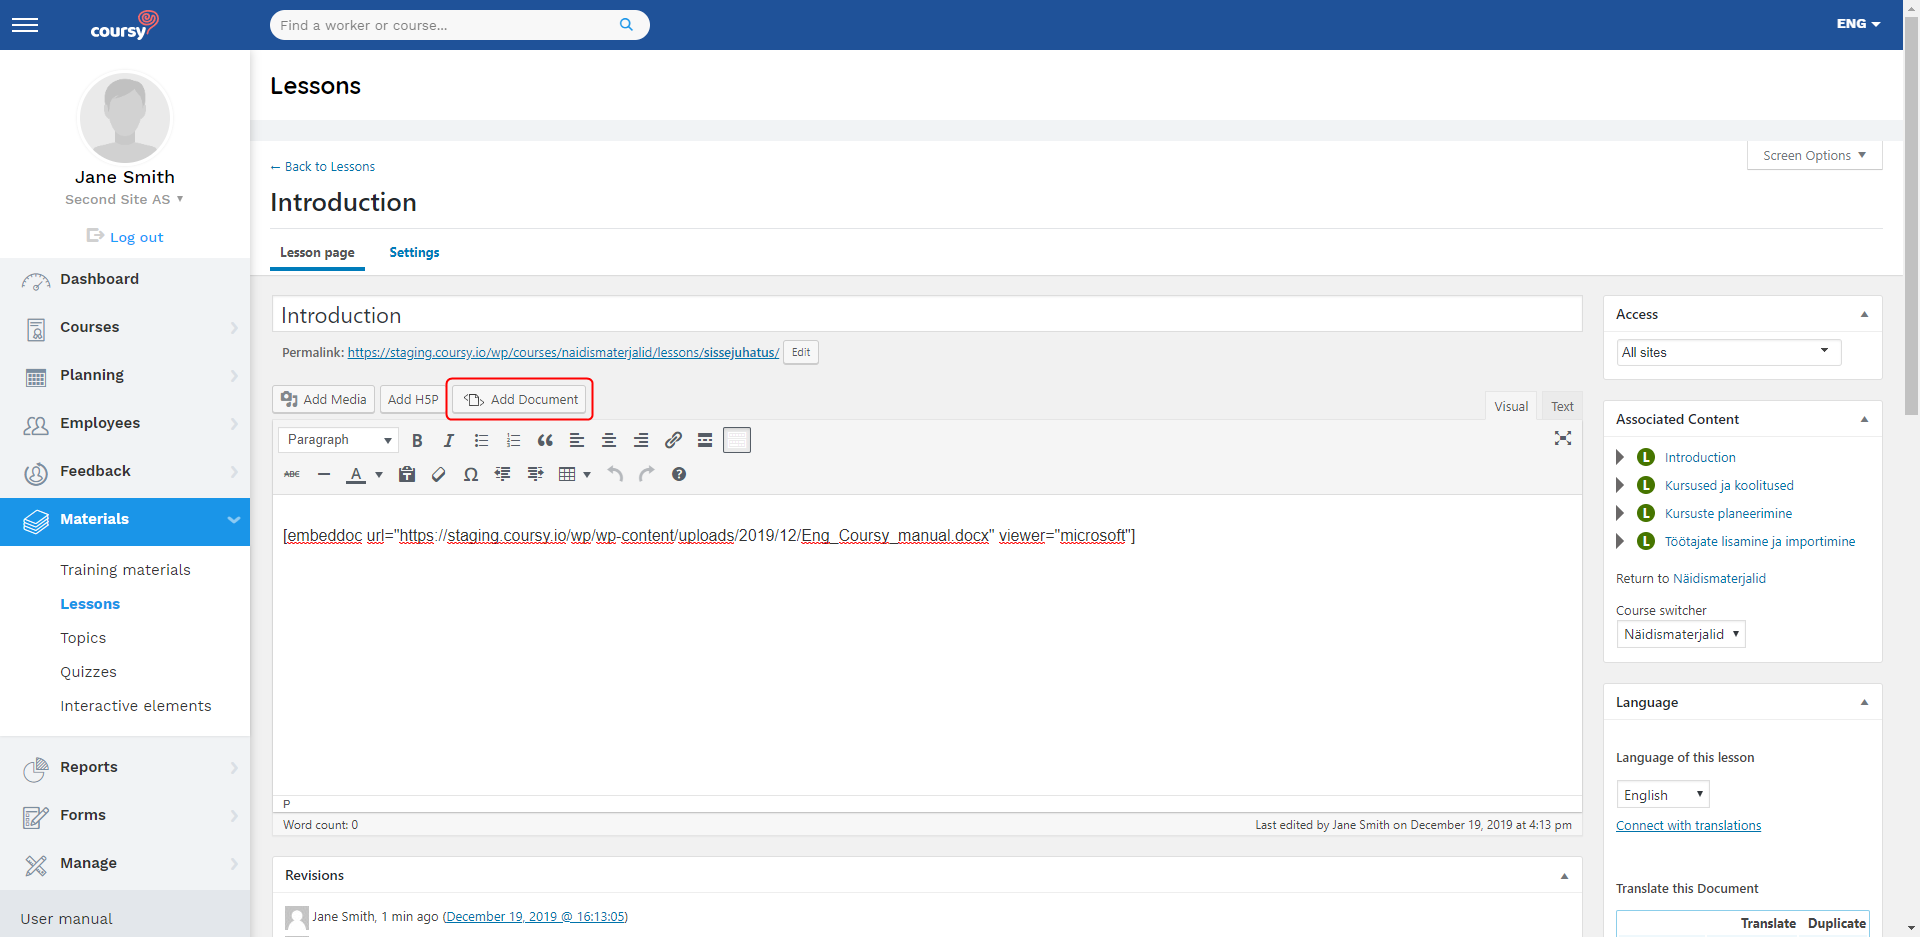
Adding documents
You can add embedded documents to the material’s content area by using the Add Document button. If you wish to add the document as a link, then use the Add Media button to add the document.
Adding embedded documents
- Open the material’s detail view
- Click Add Document
- Upload the document or add it from URL
- (Optional) change the width and height of the area where the document is embedded
- (Optional) choose whether to show the download link or not
- If you choose to display the download link, you can enter a custom name for the link from the Download Text field
- Choose which Viewer you wish to use. We recommend using “Google Docs Viewer” for .doc files.
- Click Insert
The embedded document is displayed as a shortcode in the material’s detail view. You can view the material’s preview to see what the material looks like in the Employee Portal.
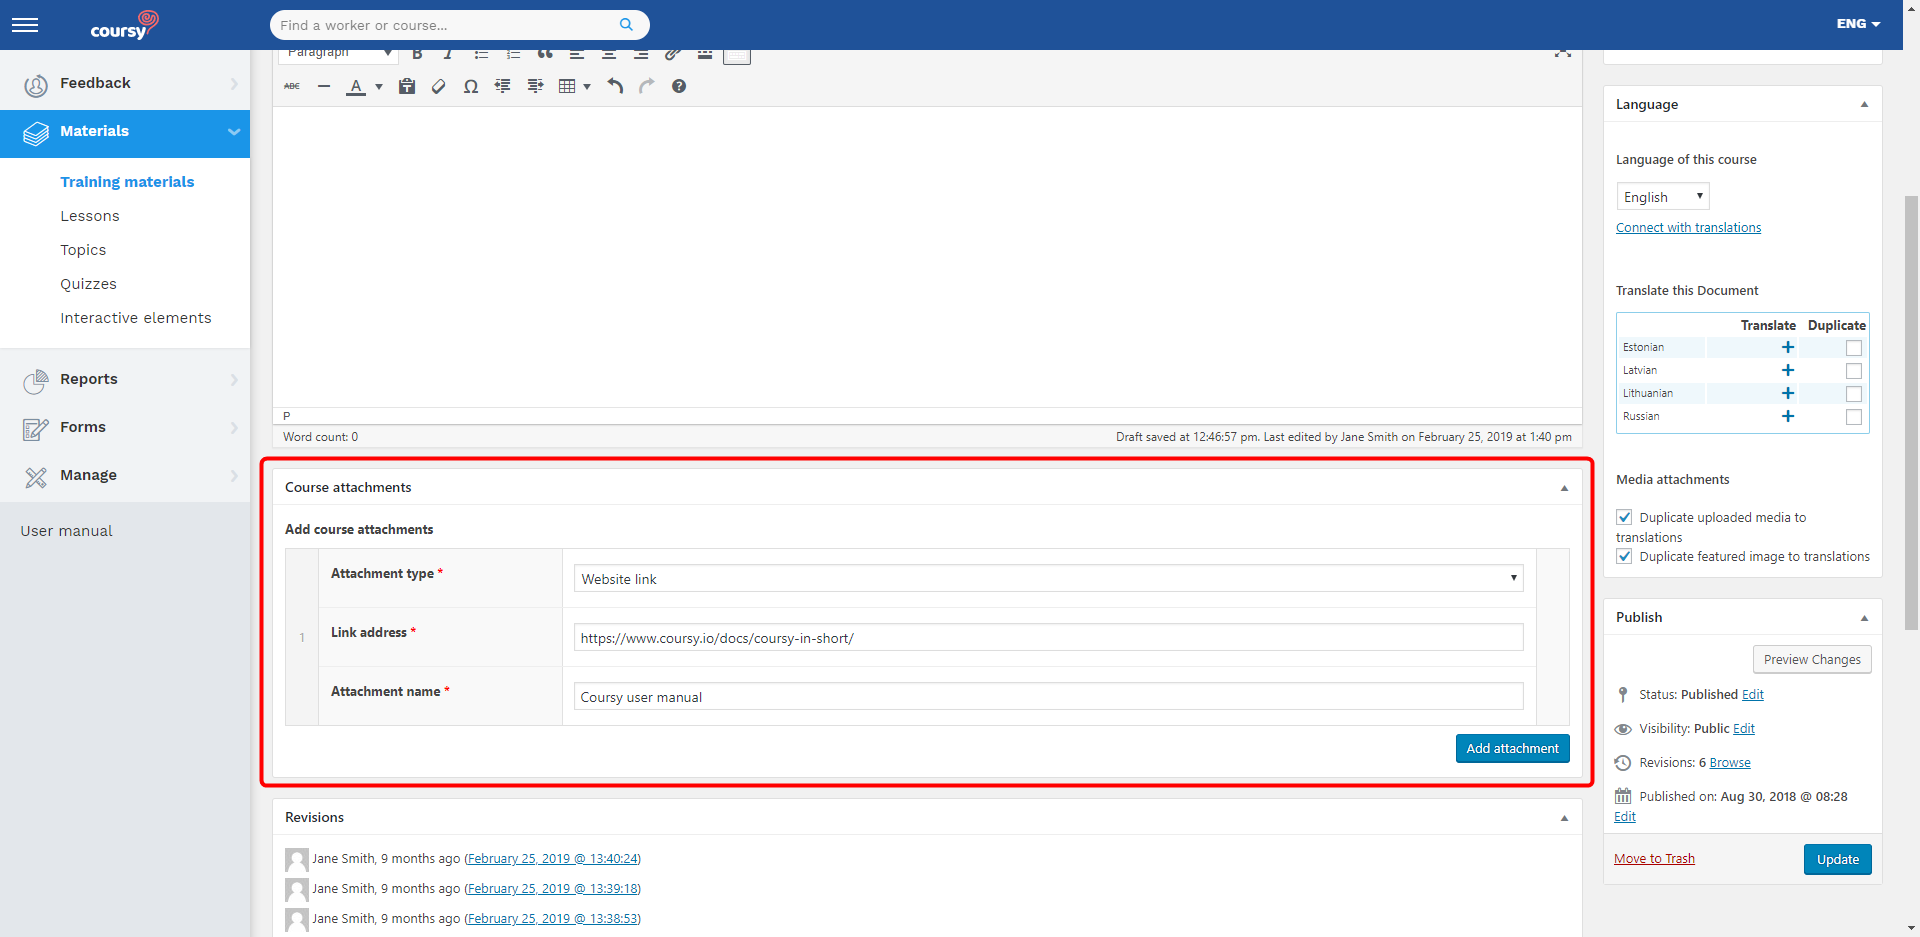
Adding attachments
You can add files or links as attachments to the study material from Course Attachments panel in the training material’s detail view.
Steps
Menu item: Materials > Training materials
- Open the training material’s detail view (click on the training material’s title)
- Click Add attachment on the Course attachments panel
- Choose the attachment type
- Upload the file or add the link
- Enter the name of the file or link
- Save the changes by clicking Publish/Update
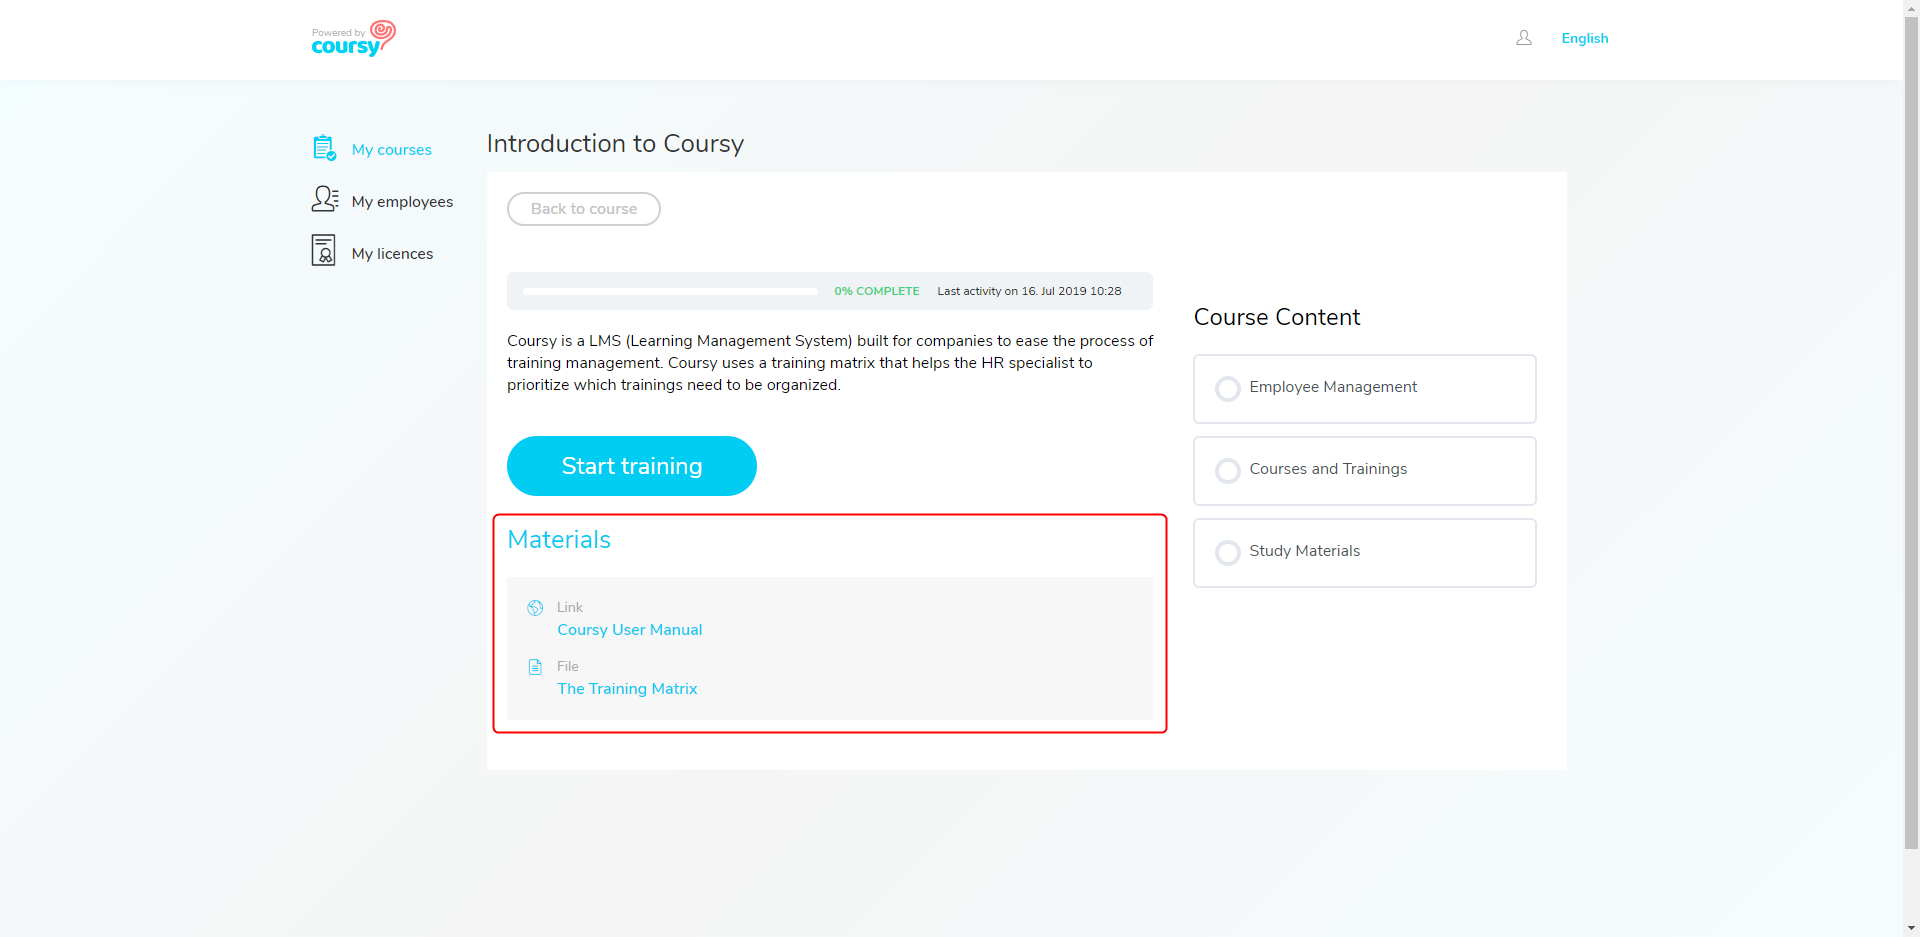
In the Employee Portal, the attachments are displayed in the Materials section of the study material’s introduction.
Interactive elements
Interactive elements offer various opportunities to make the study materials more interactive, which motivates the employees to pay more attention when reading through the study materials. To add the interactive element, you need to first create it and then add it to the material’s content.
Interactive elements don’t affect the progress of completing the study material.
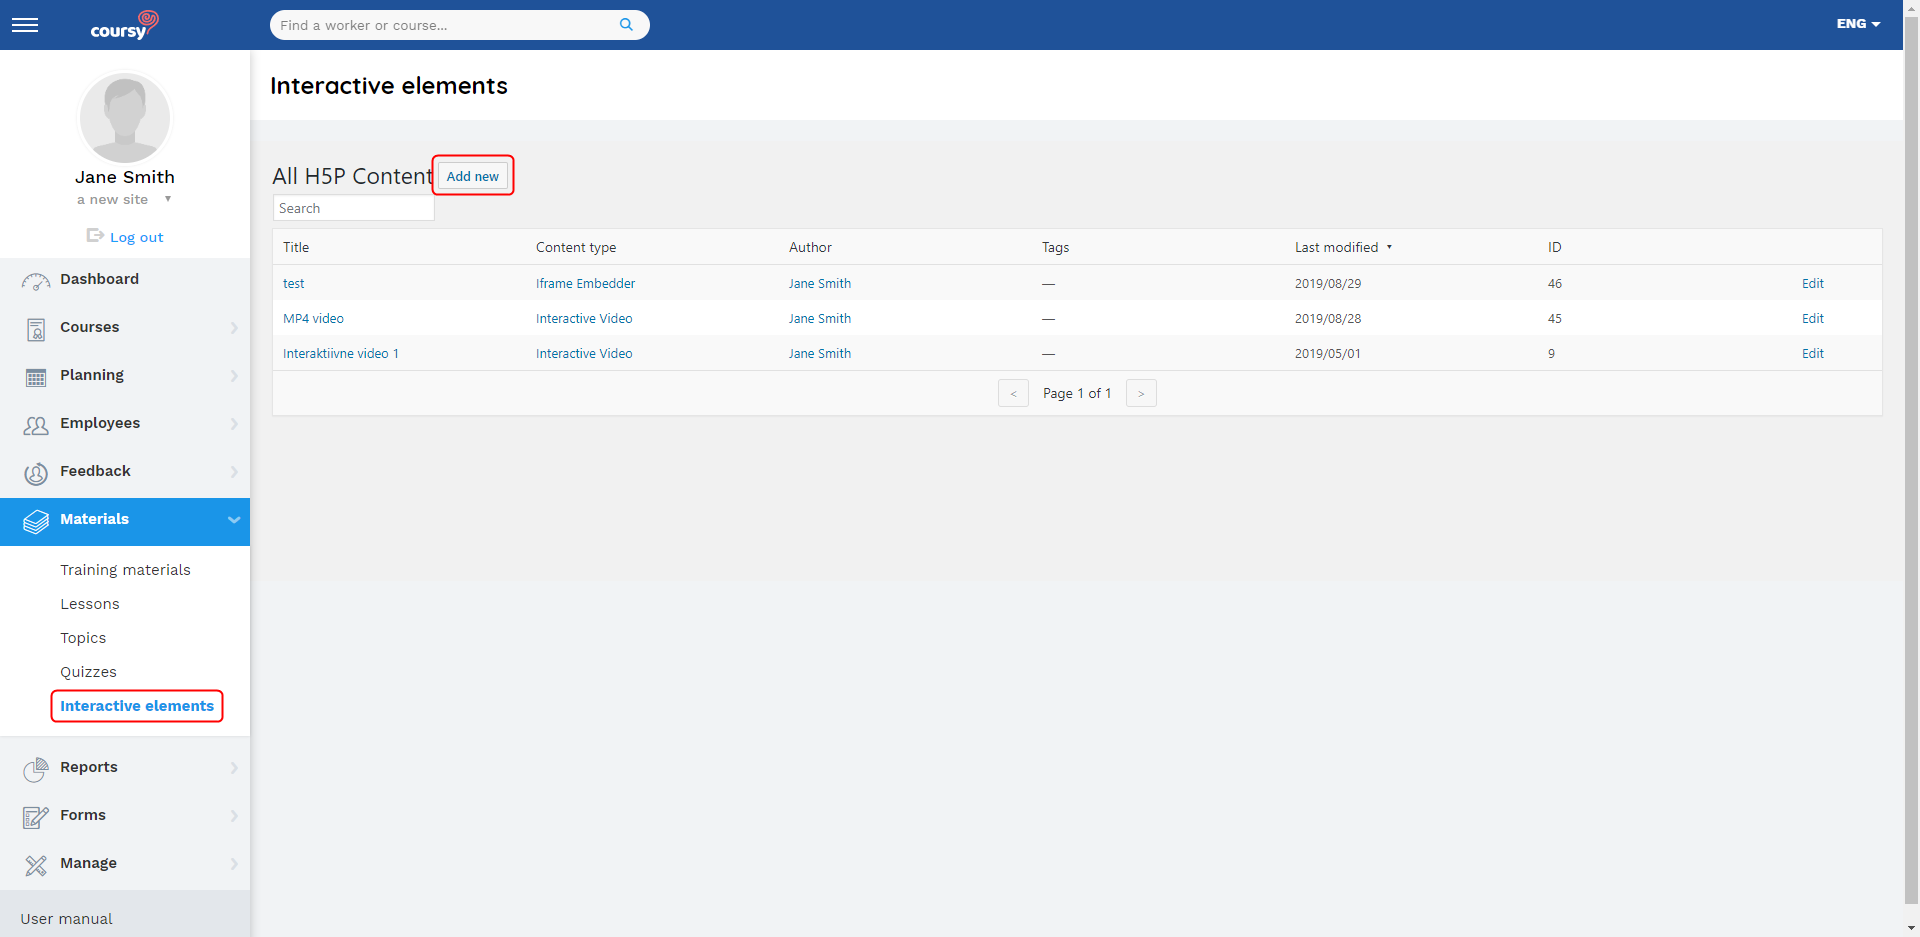
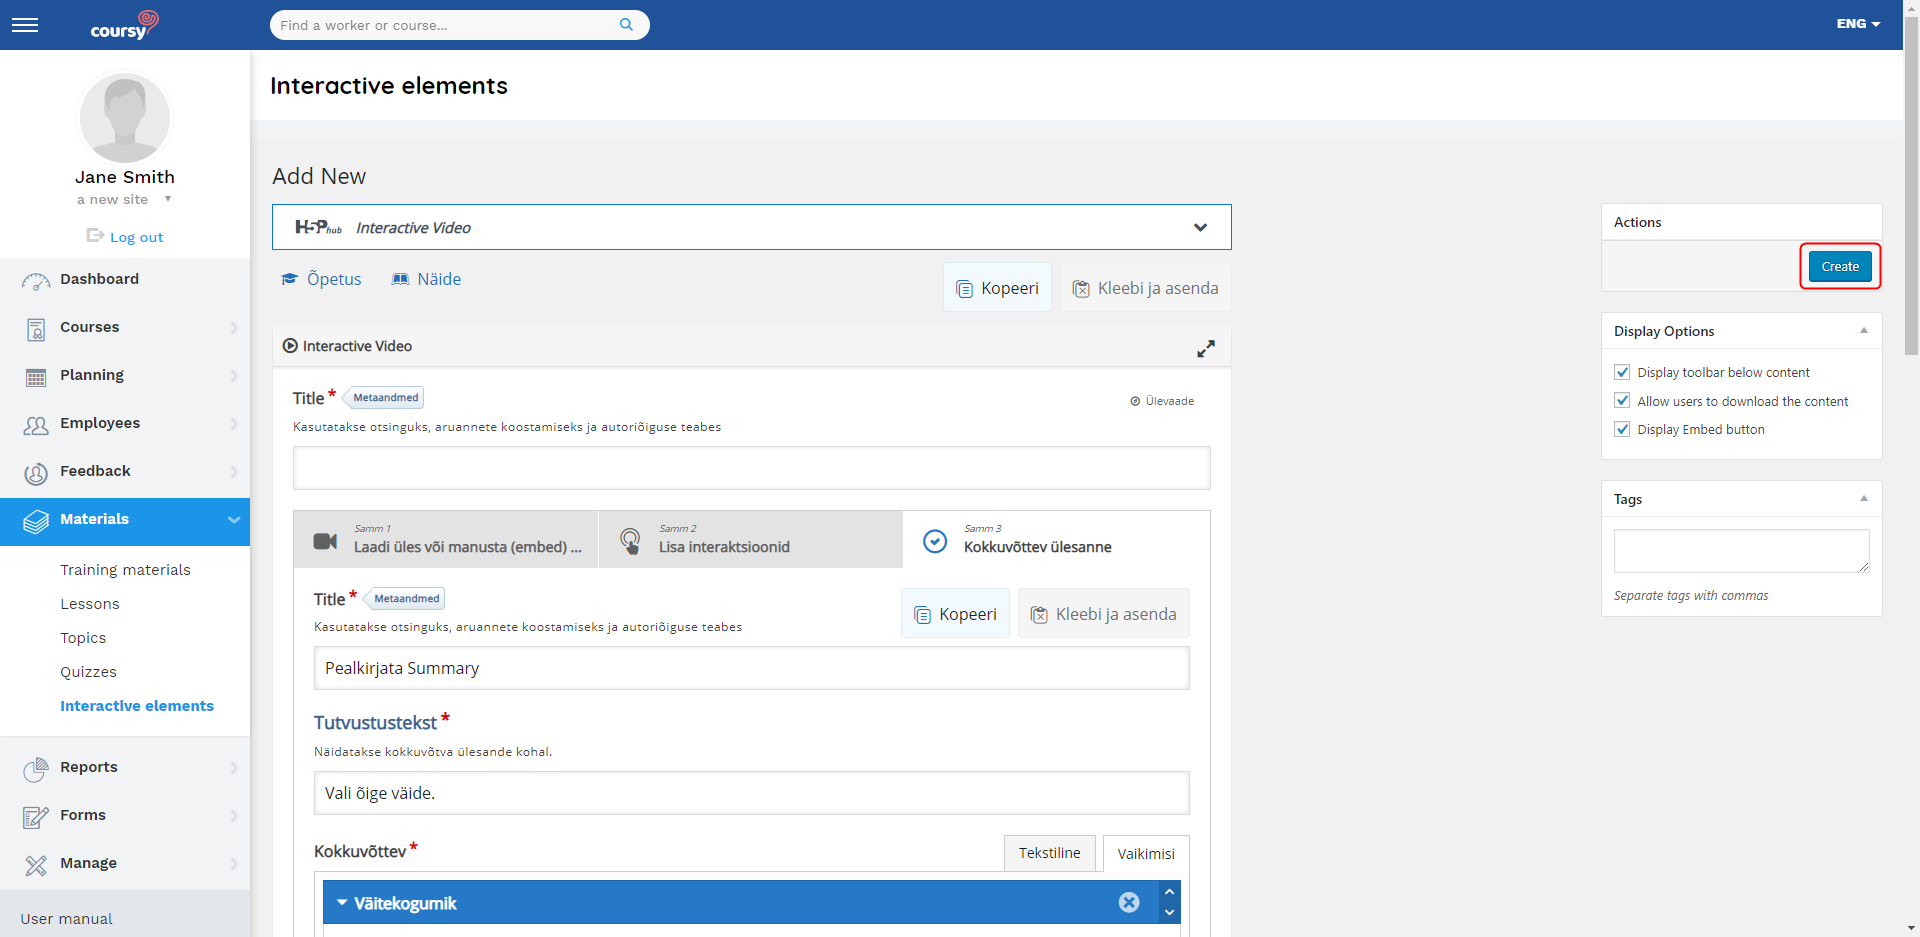
Creating Interactive Elements
Menu item: Materials > Interactive elements
- Click Add new
- Click on the element that you wish to add
- Add the content of the element
- Choose the settings that you wish to use
- Most interactive elements have a section called Teksti ümbermääramised ja tõlked where it’s possible to define your own names or descriptions of displayable fields (such as buttons, confirmation notices etc.)
- Click Create (on the Actions panel)
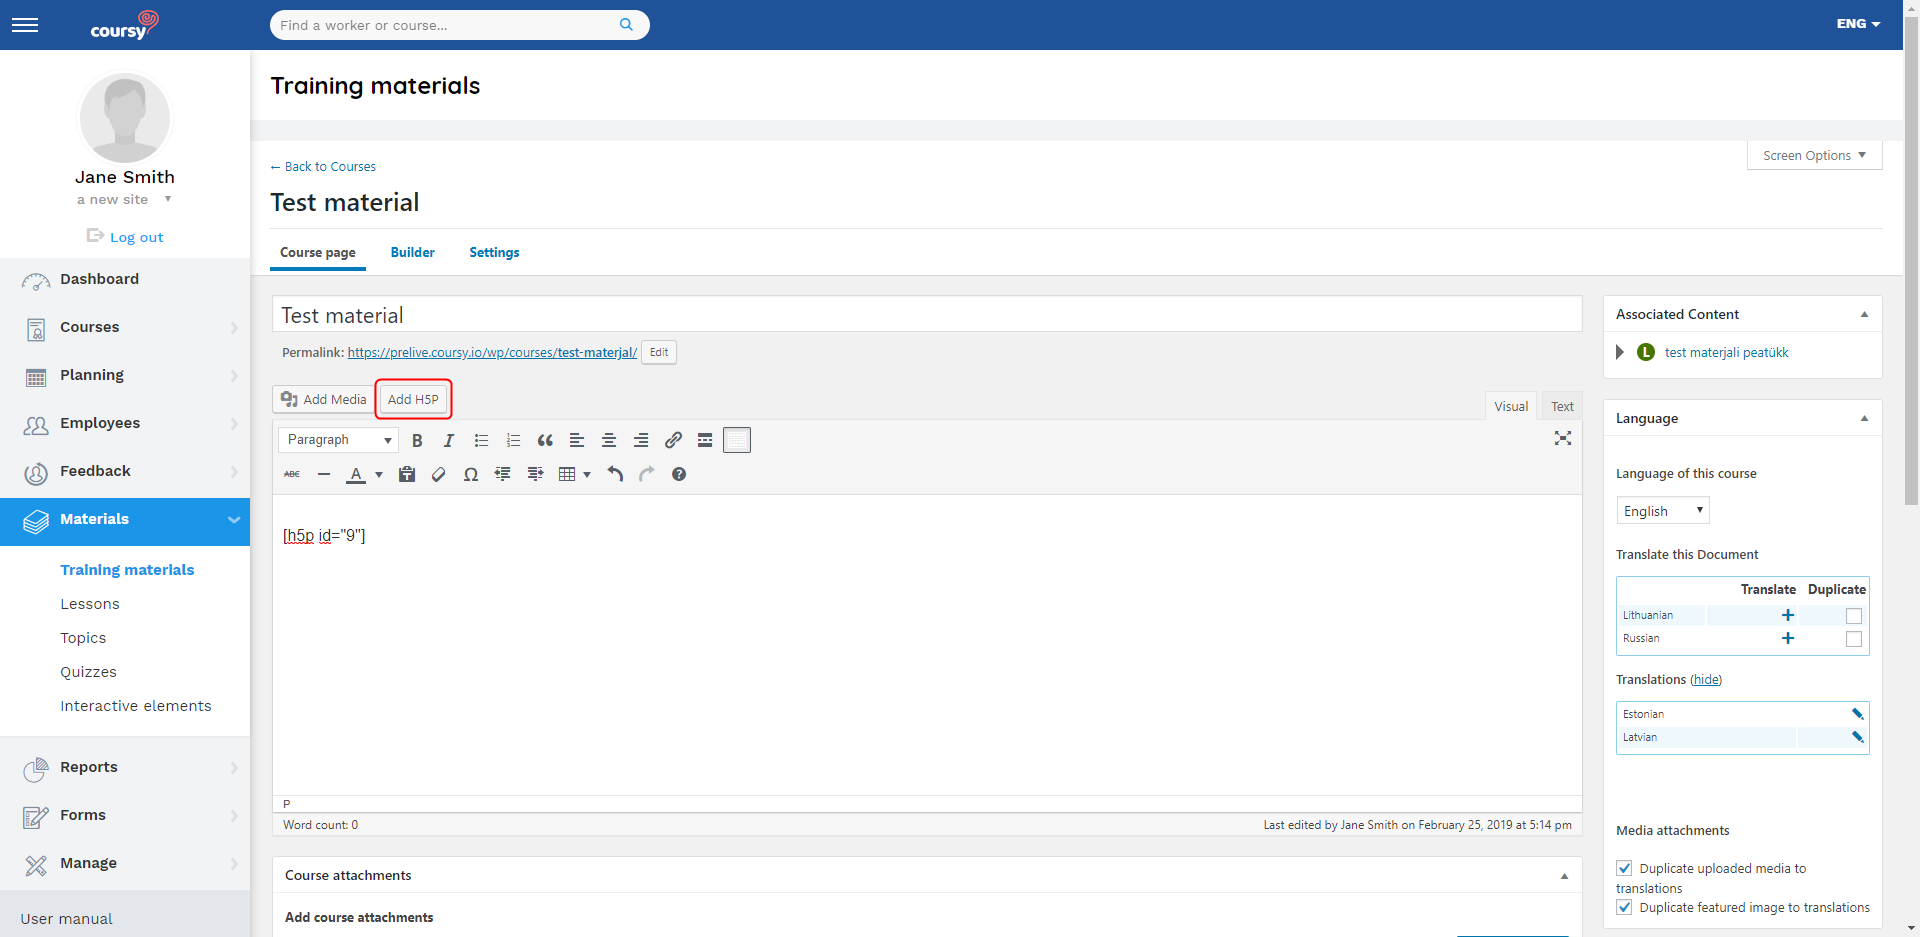
Adding interactive elements to the study material
- Open the material’s detail view
- Click Add H5P
- Find the element you wish to add
- Click Insert
The interactive element is displayed as a shortcode in the content field, but you can view the materials preview to see what it will look like in the Employee Portal.
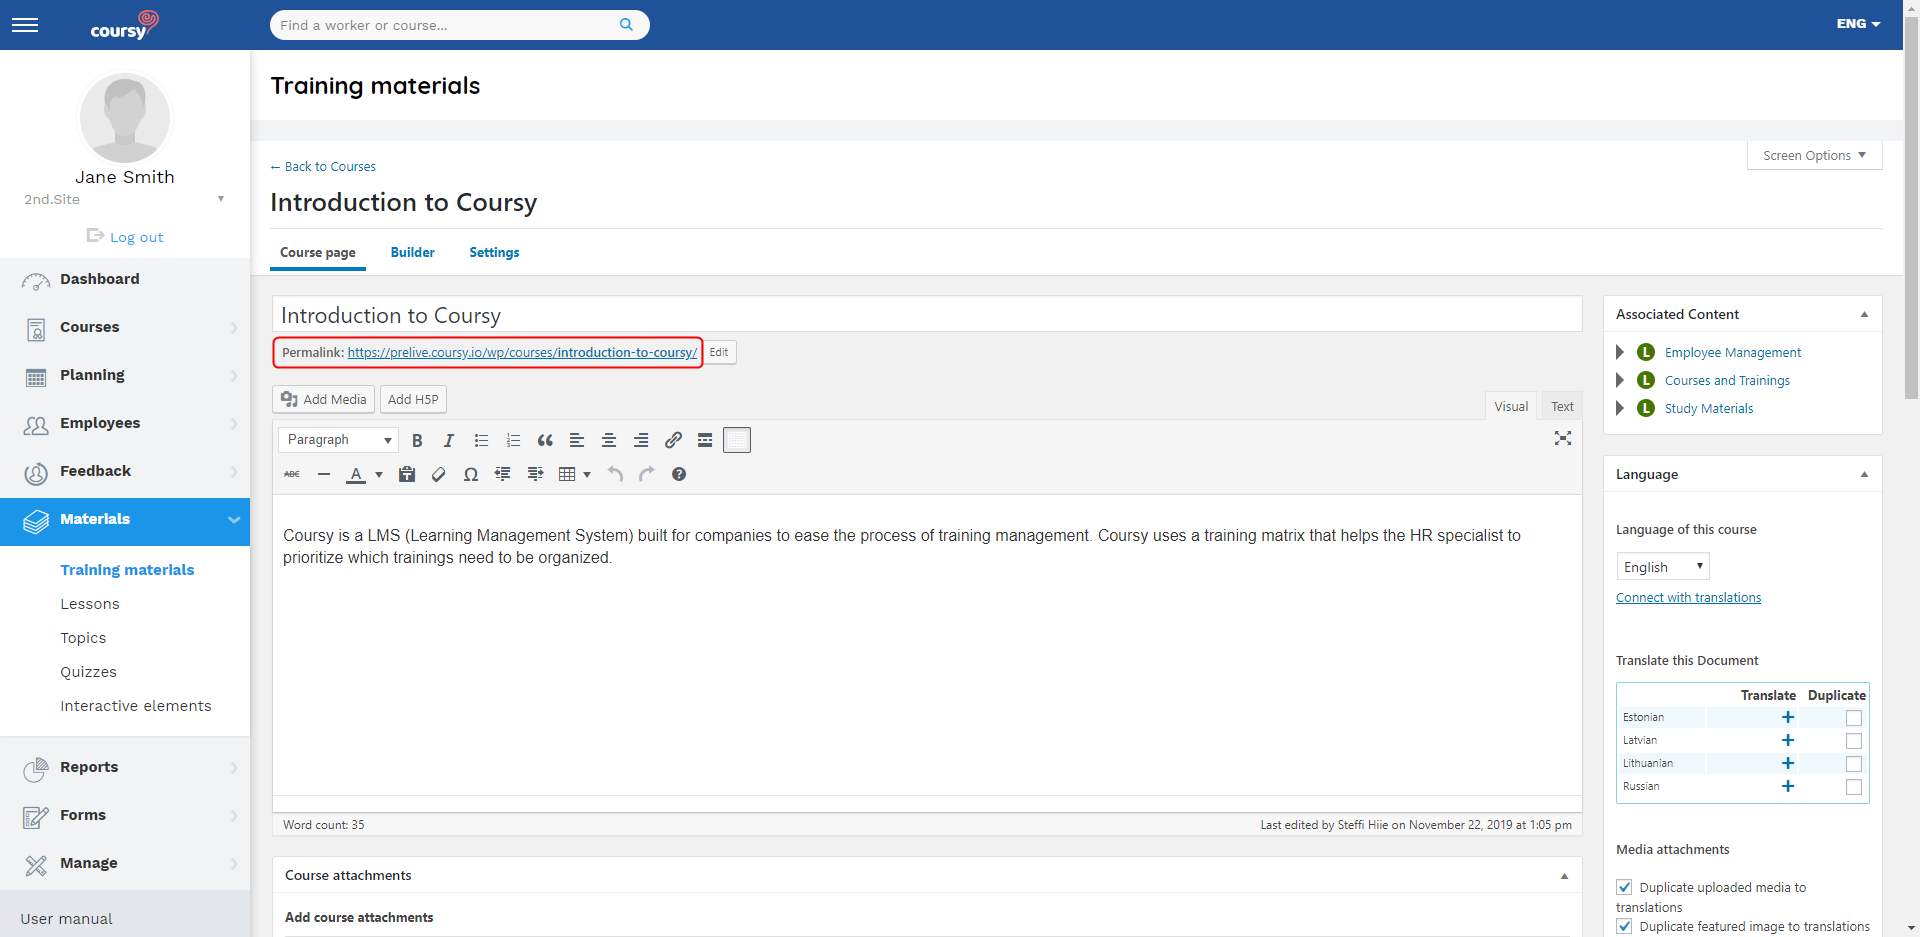
Viewing the material’s preview
The training material’s Permalink allows you to see the study material’s preview. The preview displays what the material will look like in the Employee Portal. It also lets you try out how the employees can mark the study material as complete.
You can also view the material’s preview from the course version’s detail view after you associate the study material with a training.